
Rifle Fundamentals
Clear explanations for the rifle details that matter before a build is selected, configured, or ordered.

Mental management is just as important as the application of fundamentals. The goal is not to overwhelm a buyer with jargon. It is to make the tradeoffs easier to see before the rifle is in hand.
Guides
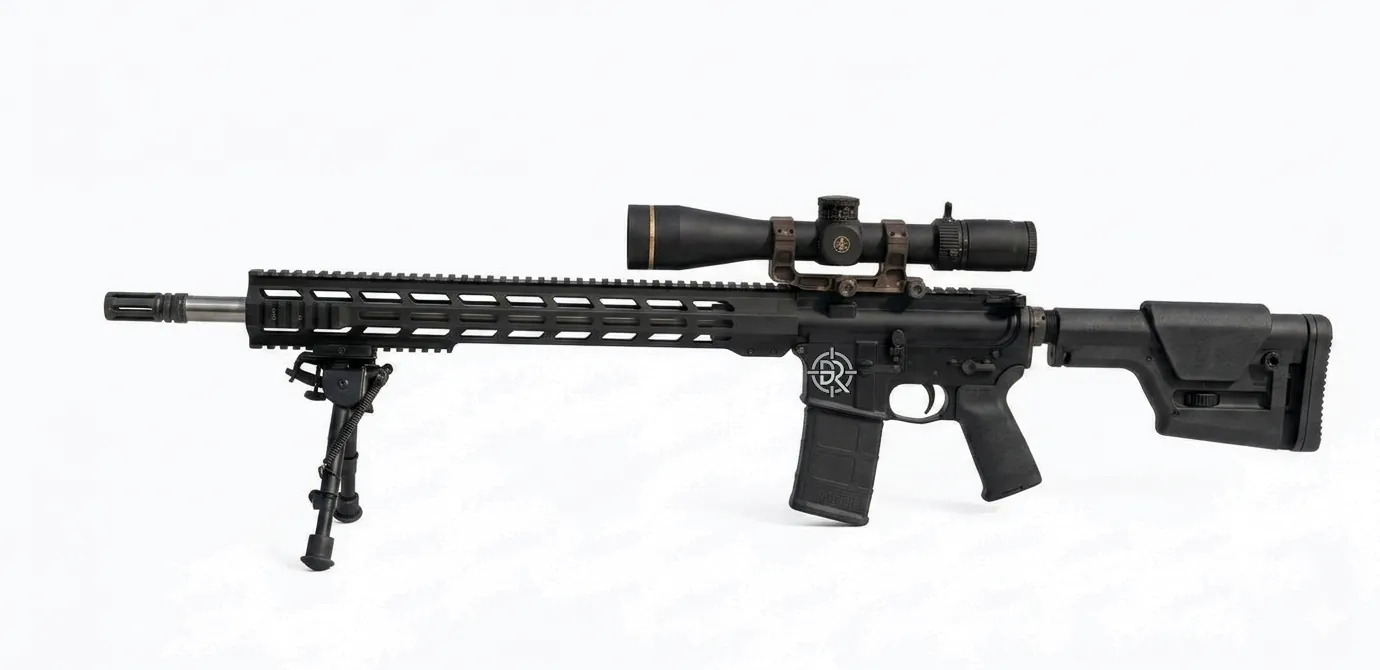
.223 Wylde vs. 5.56 NATO: Can You Shoot Both?
Can you shoot 5.56 NATO in a .223 Wylde barrel? Yes. See how .223 Wylde, 5.56 NATO, and .223 Remington chamber markings differ before you buy.
Read the guide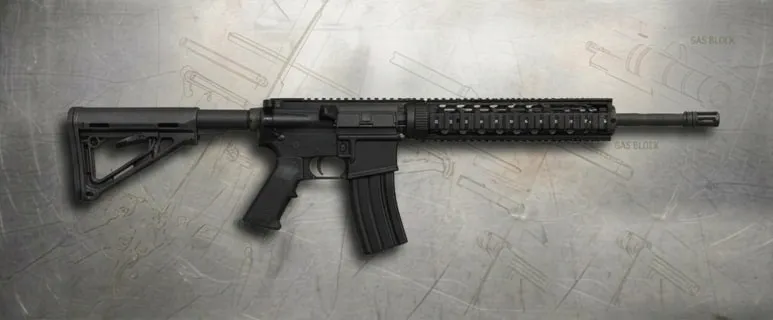
AR-15 Barrel Length: 16 vs. 18 vs. 20 Inches
Compare 16-, 18-, and 20-inch AR-15 barrel lengths for handling, balance, velocity, and match use before choosing a rifle.
Read the guide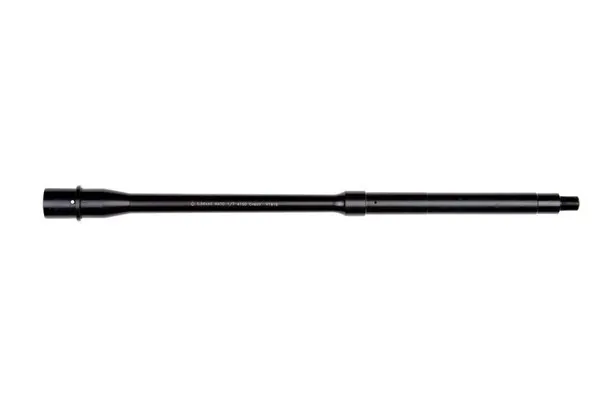
AR-15 Twist Rate Chart: 1:7 vs. 1:8 vs. 1:9
AR-15 1:7, 1:8, and 1:9 twist-rate chart: see what each rate means and how ammunition, bullet length, and rifle use shape the choice.
Read the guide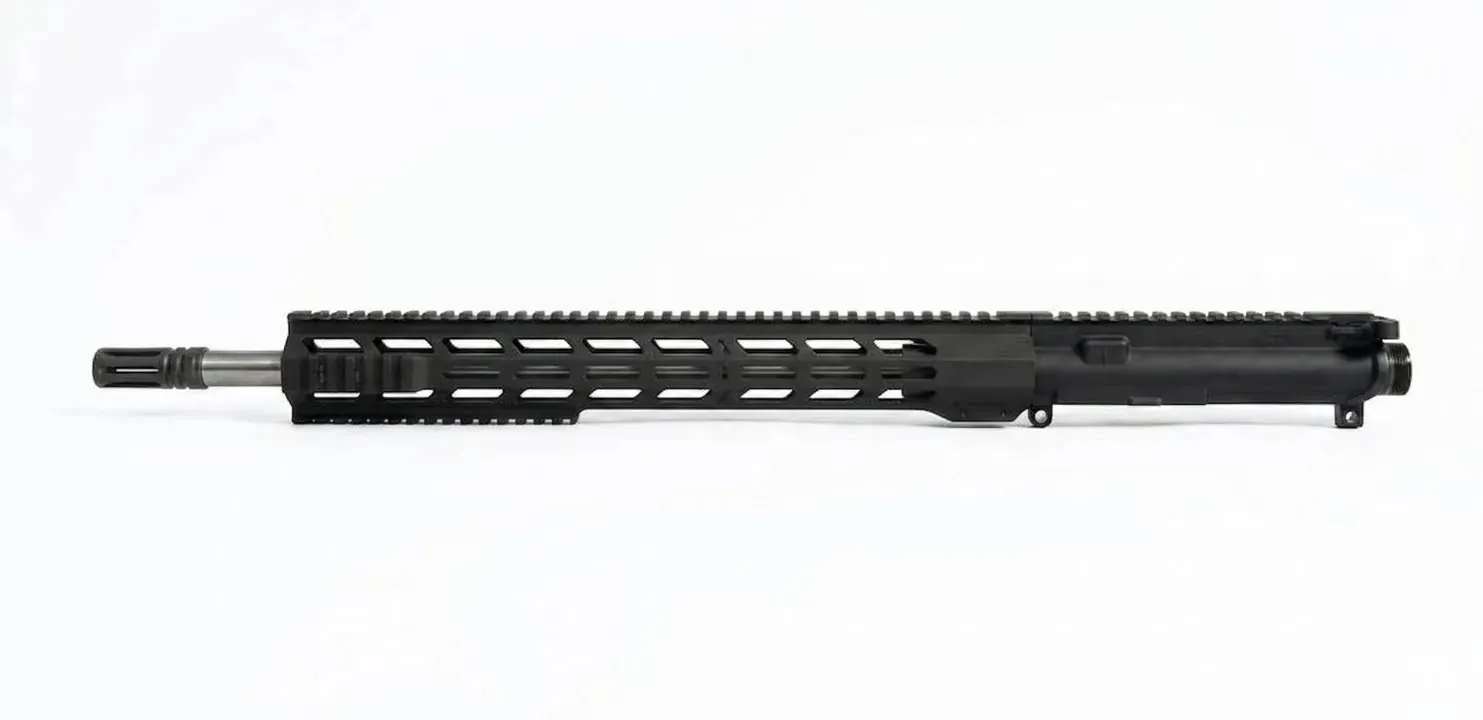
Carbine vs. Mid‑Length Gas System: How to Choose
Carbine vs. mid-length gas system for a 16-inch AR-15: what each label means and the full rifle details to compare before you buy.
Read the guide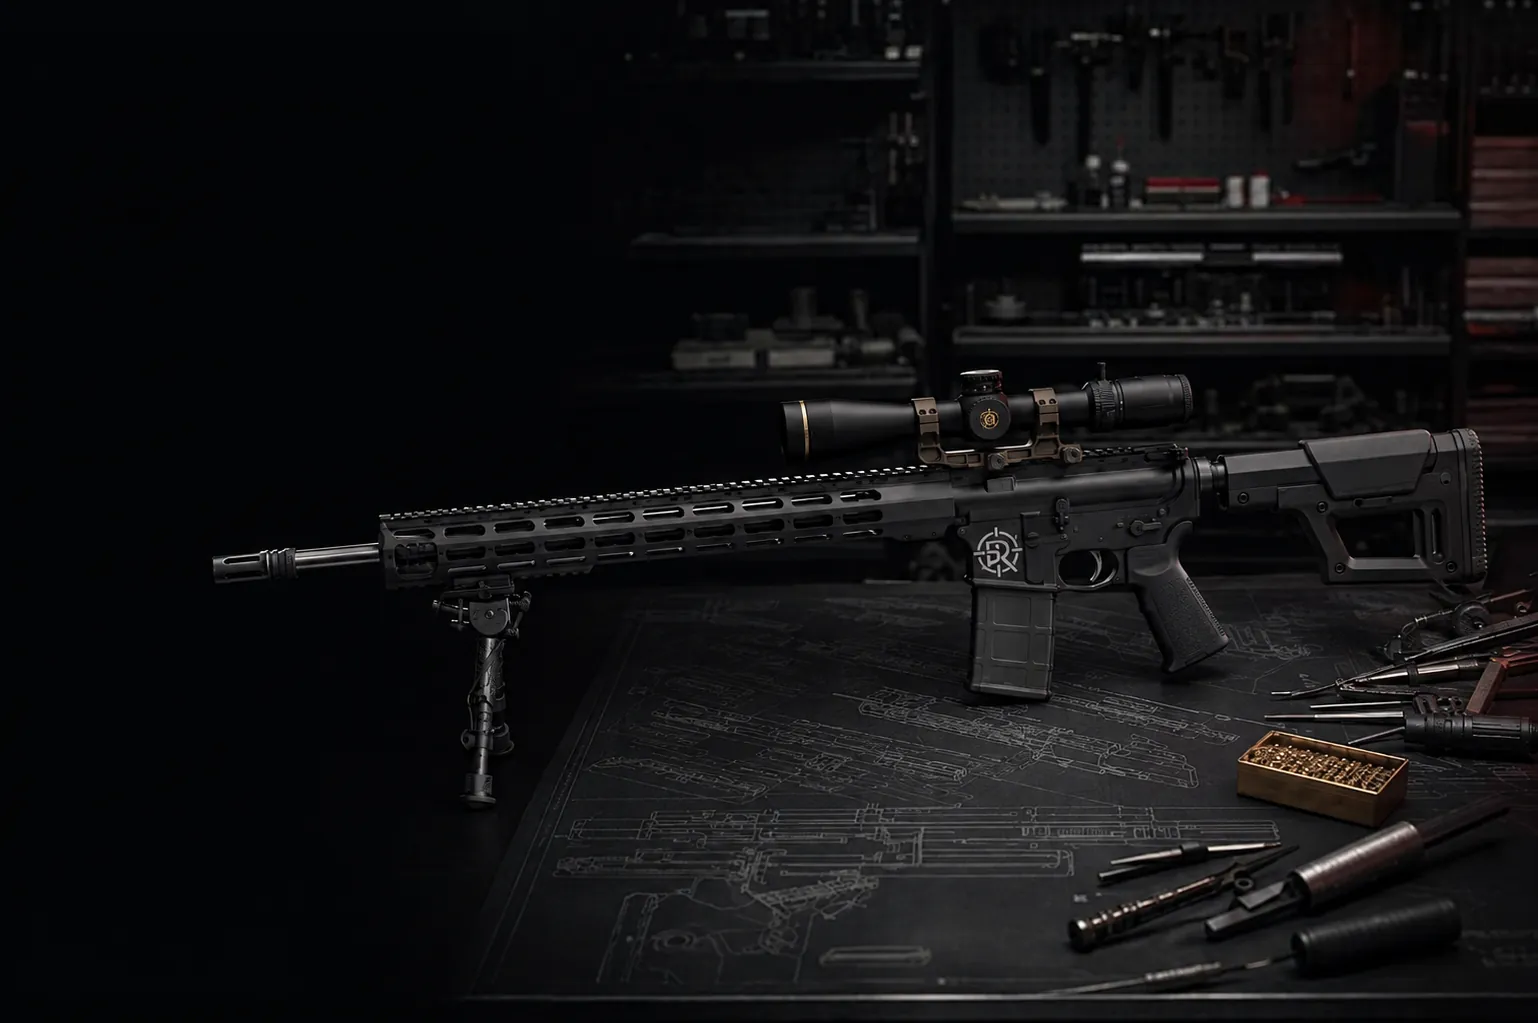
AR-15 Buffer Weight Chart: Standard, H, H2, and H3
AR-15 buffer weight chart: standard 3.0 oz., H 3.8 oz., H2 4.7 oz., and H3 5.4 oz. Understand the labels before changing parts.
Read the guide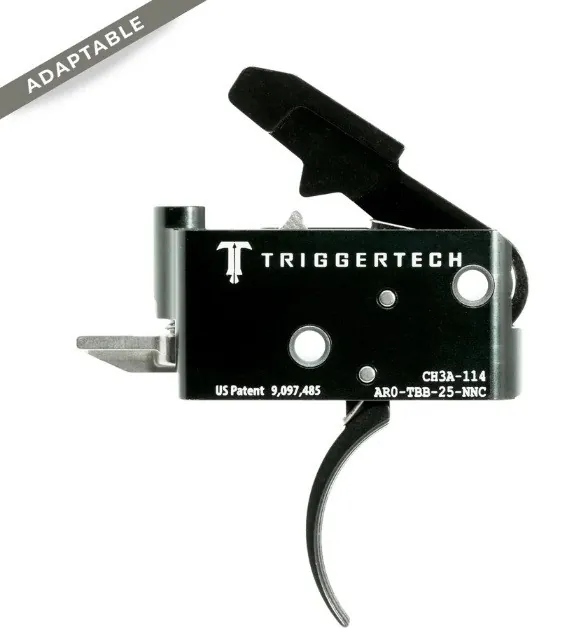
AR-15 Trigger Pull Weight: What It Means
AR-15 trigger pull weight guide: compare single-stage and two-stage feel, what pull-weight numbers mean, and when rifle role and safety checks matter.
Read the guide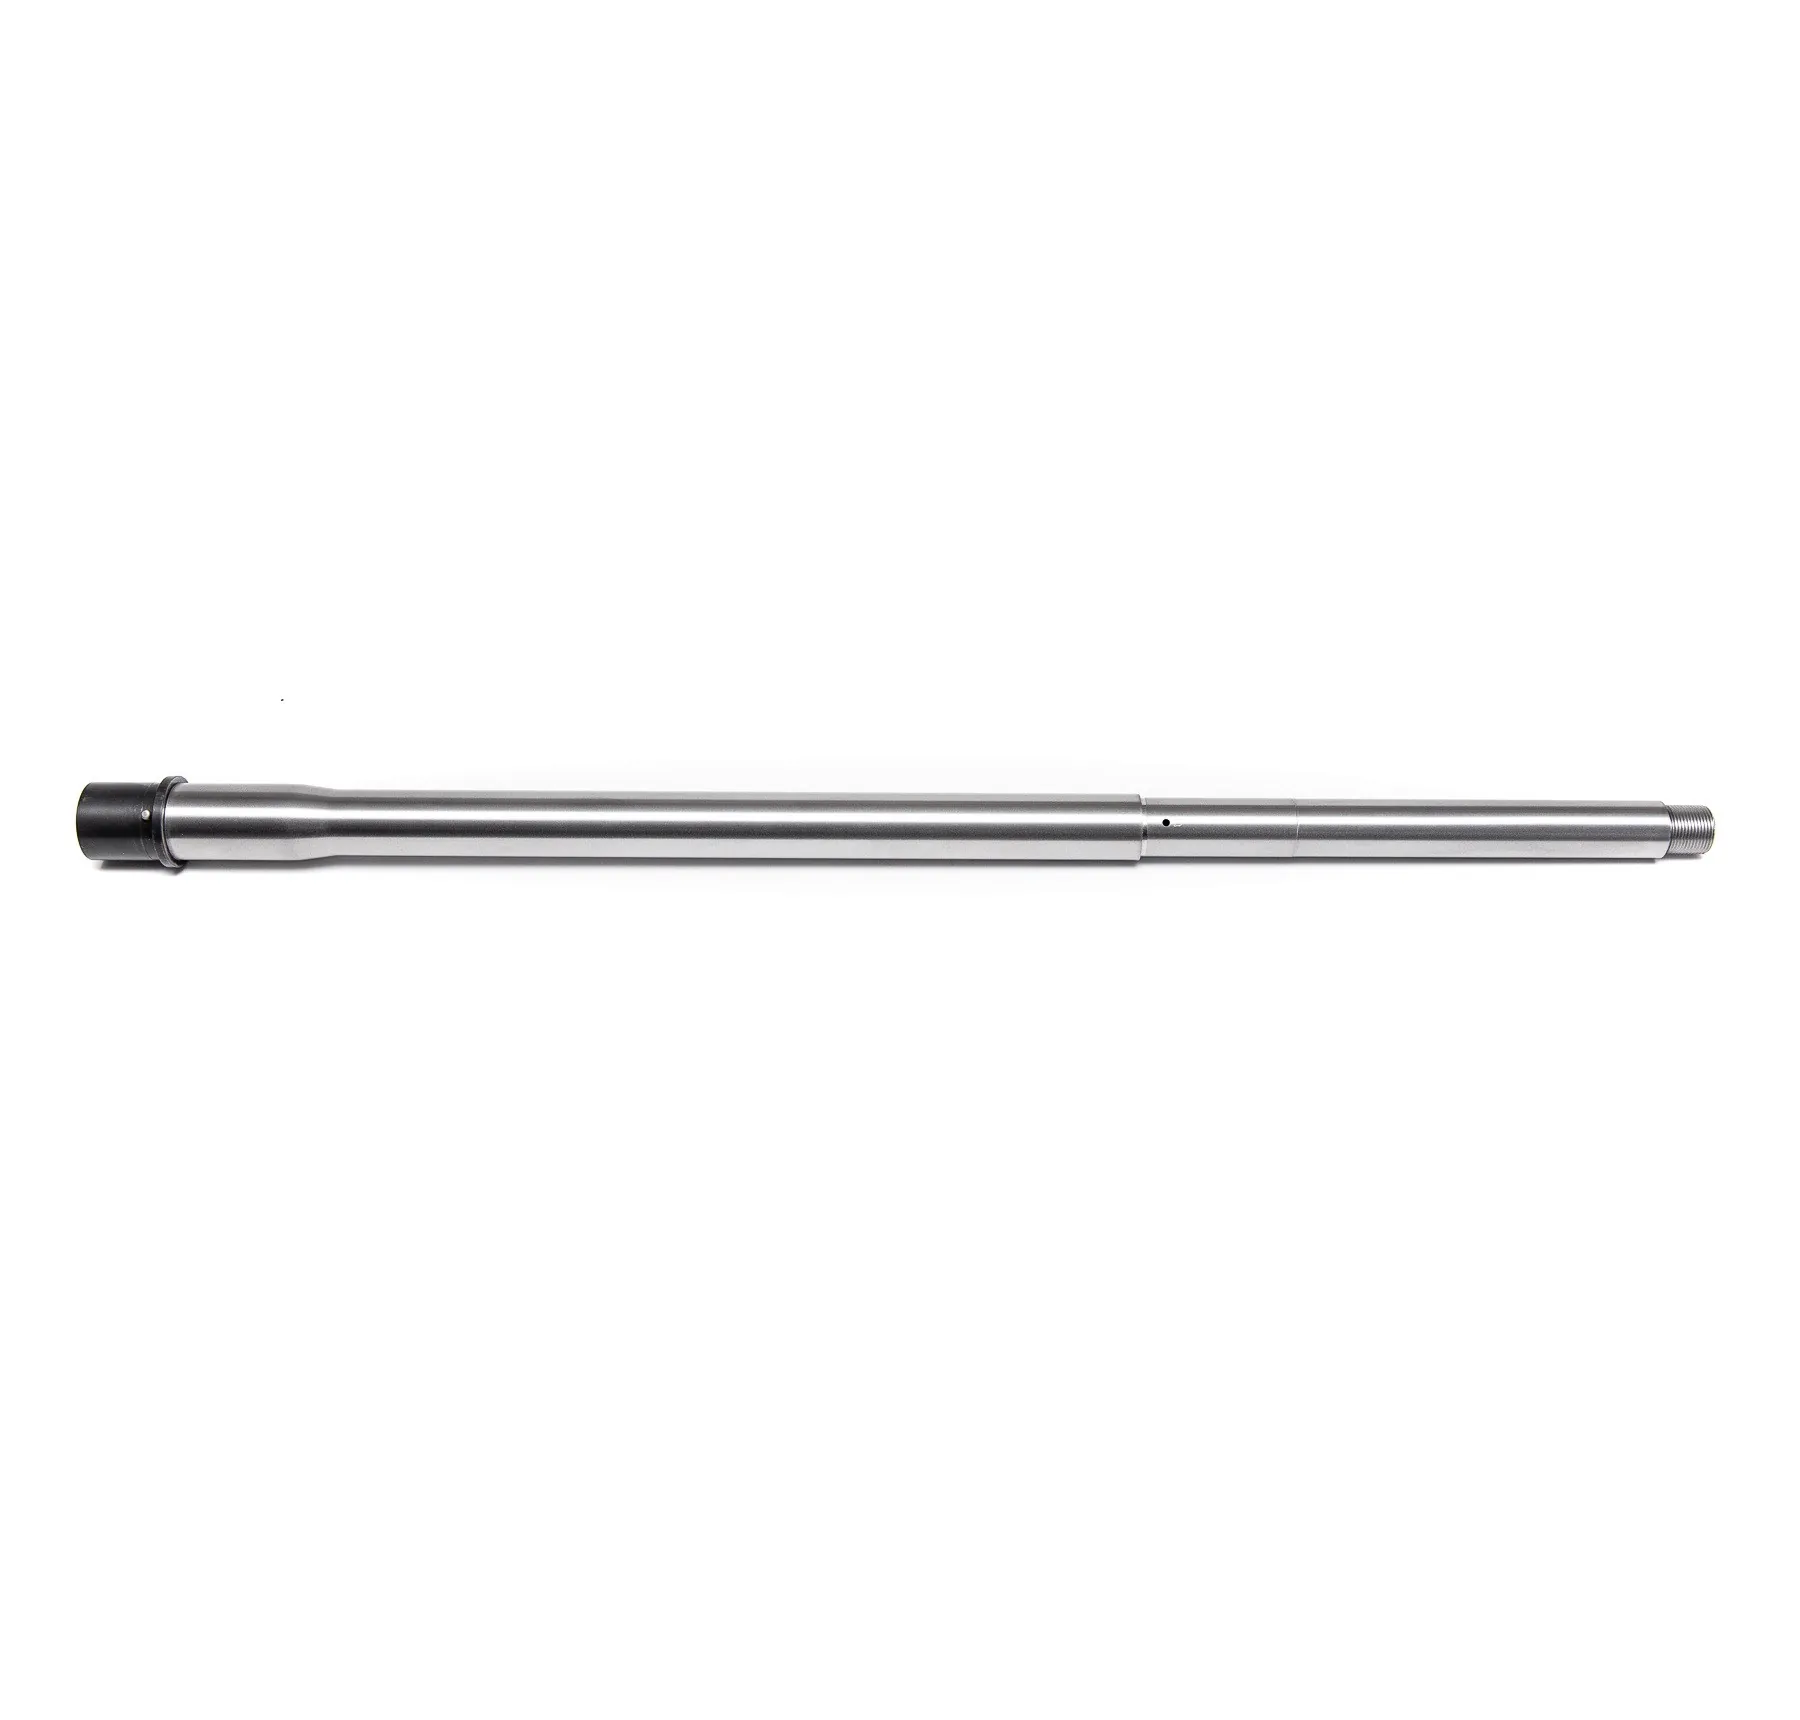
AR-15 Barrel Profile: Lightweight, Government, and HBAR
Compare lightweight, government, and HBAR AR-15 barrel profiles around balance, heat, intended use, and the complete rifle.
Read the guide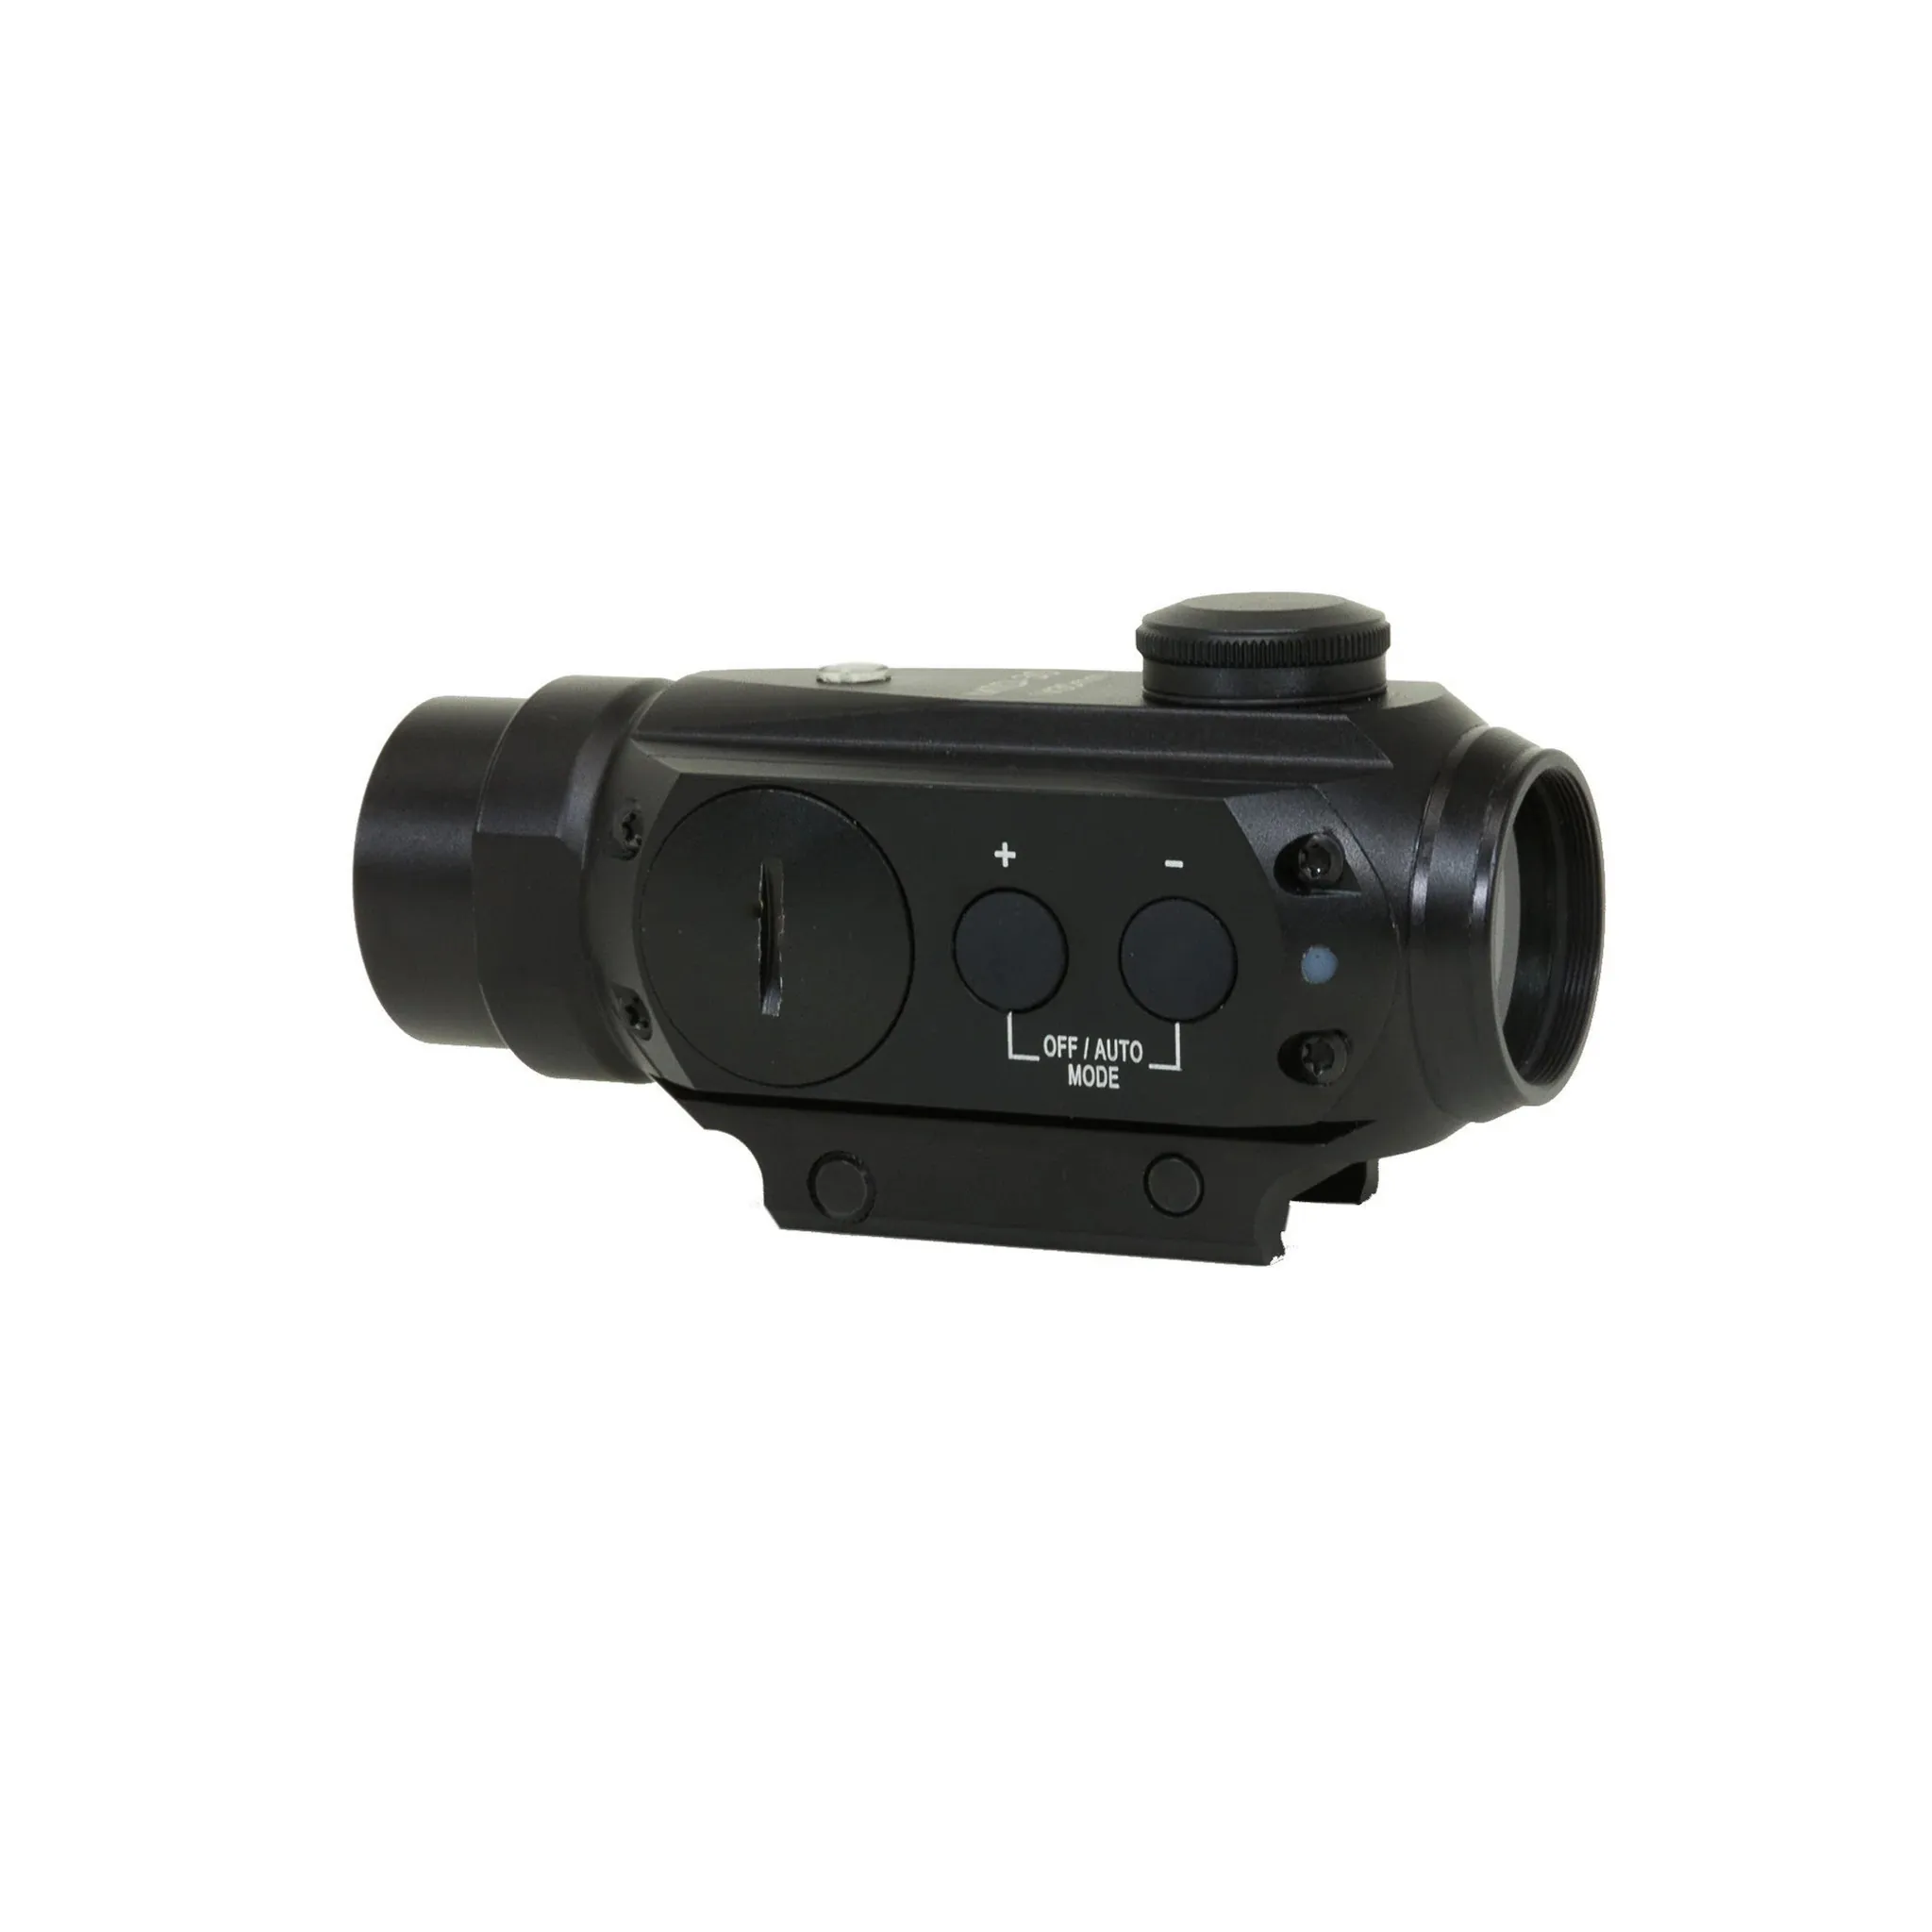
Best Scope for an AR-15: A Practical Buying Guide
Compare red dots, low-power variable scopes, and service-rifle optics around distance, shooting role, and the complete AR-15 setup.
Read the guide
Best Sling for an AR-15: Two-Point vs. Single-Point
Compare two-point and single-point AR-15 slings around rifle role, comfort, retention, attachment points, and safe transport.
Read the guide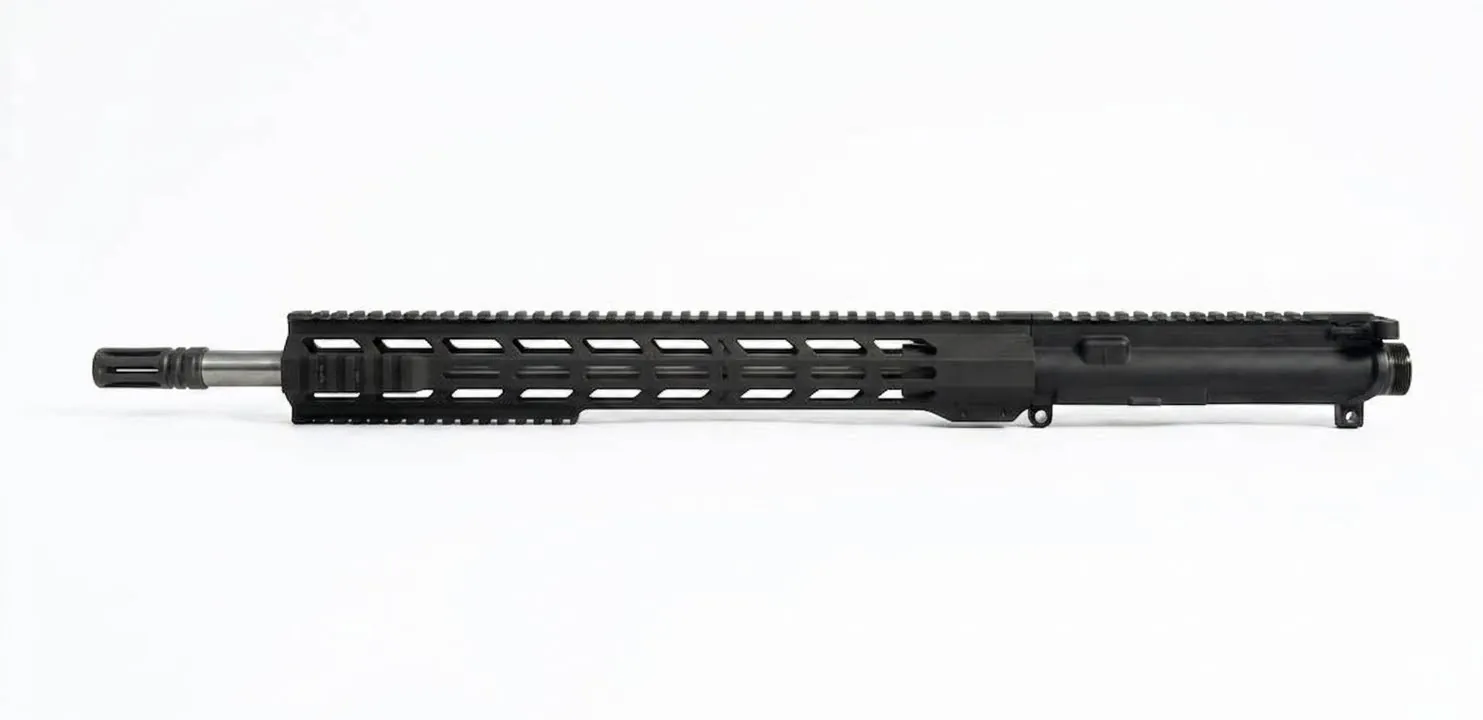
Best AR-15 Upper: How to Choose a Complete Upper
A practical guide to choosing a complete AR-15 upper around cartridge, barrel, gas system, handguard, and the rifle you plan to finish.
Read the guide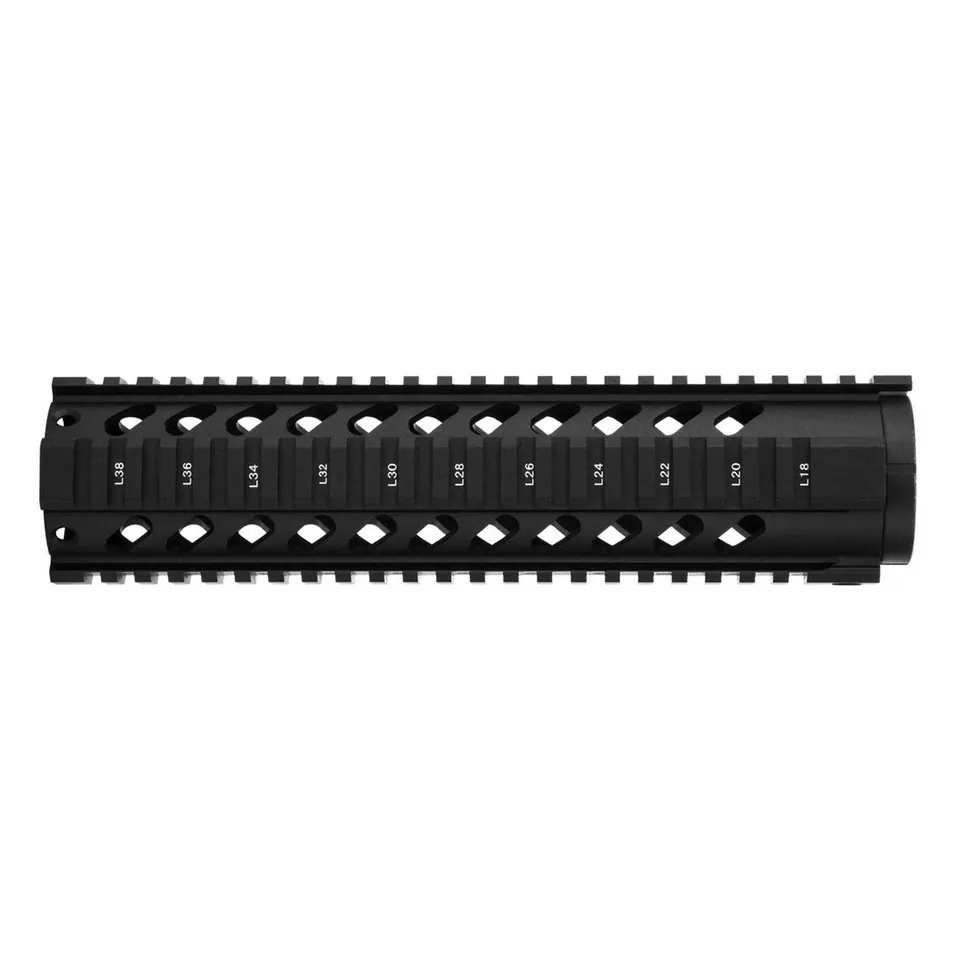
What Is a Free-Float Handguard? A Practical Guide
Understand what a free-float handguard does, how it differs from a drop-in design, and what to compare before choosing an AR-15 upper.
Read the guide
AR-15 Gas Block: What It Does and What to Compare
Understand what an AR-15 gas block does, why fit matters, and which complete-rifle details to compare before choosing an upper or service.
Read the guideAR-15 Handguard Types: Free-Float vs. Drop-In
Compare free-float and drop-in AR-15 handguards, rail interfaces, fit questions, and the complete-rifle details that should guide the choice.
Read the guide
AR-15 Charging Handle Upgrade: How to Choose
Compare standard, extended, and ambidextrous AR-15 charging handles around fit, optic clearance, and the complete rifle.
Read the guide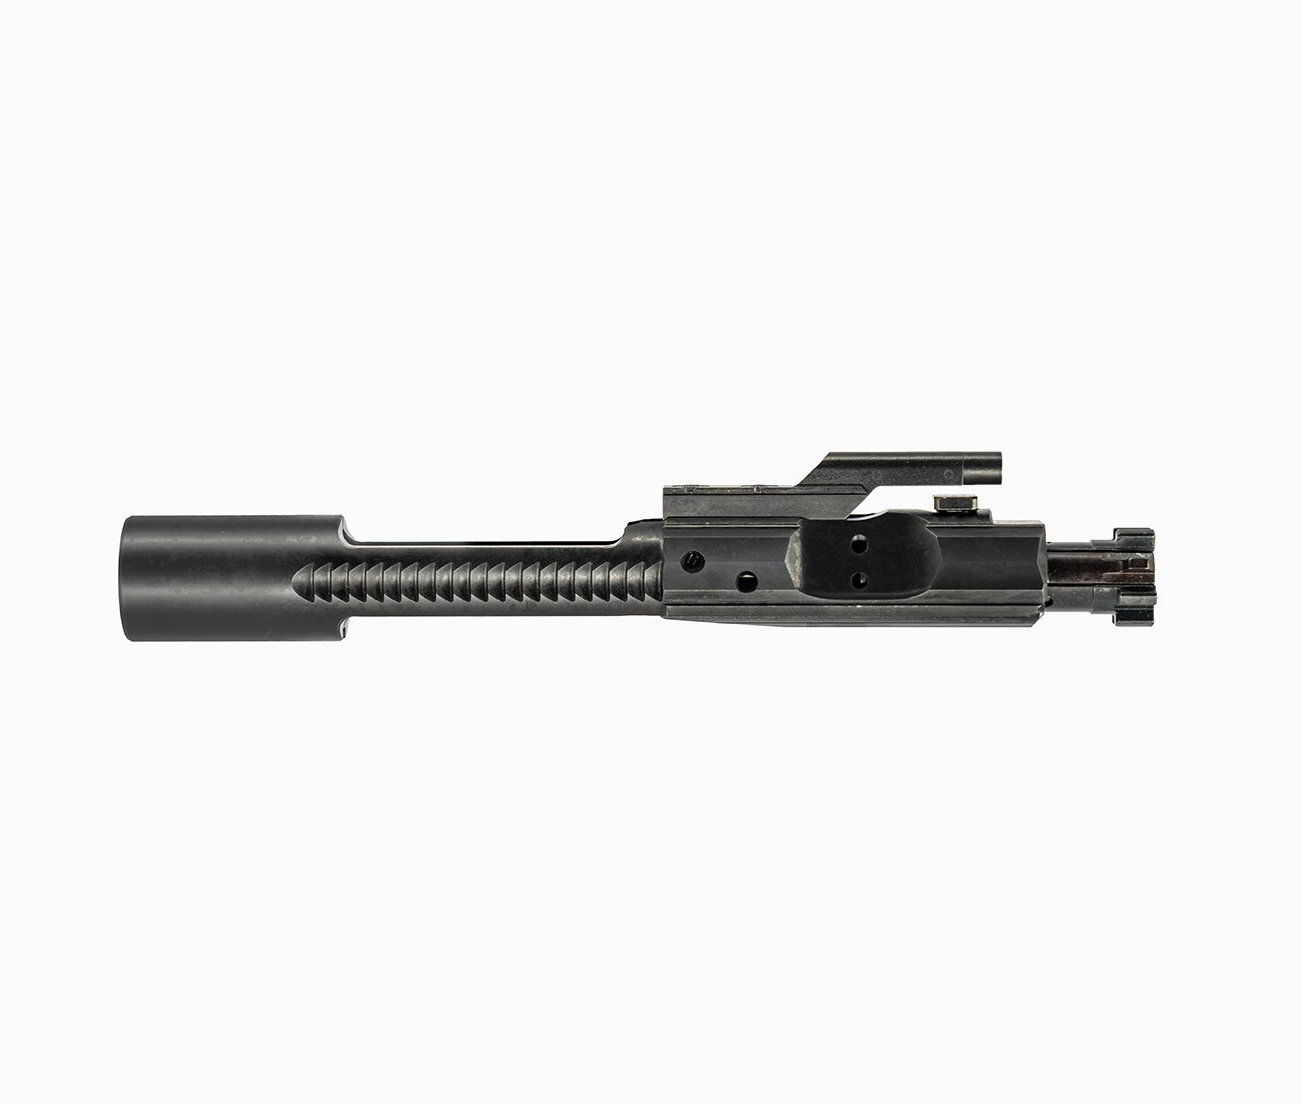
What Is an AR-15 Bolt Carrier Group?
Understand what an AR-15 bolt carrier group does, the specifications worth comparing, and why fit with the complete rifle matters before you buy.
Read the guideFinding Your Shot
Mental management is just as important as the application of fundamentals. Learn how dry-fire practice, natural point of aim, and patience help reveal your authentic shot.
Read the guide