
An AR-15 handguard does more than fill the space around the barrel. It gives the support hand a usable surface, helps keep hands away from barrel heat, and provides a place for the accessories that genuinely serve the rifle’s purpose. It also creates one of the easiest places to confuse two different questions: how the handguard attaches and how accessories attach to it. A clear comparison starts by separating those questions.
The short answer
Free-float and drop-in describe how a handguard relates to the rifle. A free-float handguard mounts at the receiver or barrel-nut area without contacting the barrel along its length. A drop-in handguard is generally a two-piece design made for a traditional upper arrangement. M-LOK, KeyMod, and Picatinny describe the surfaces used to add compatible accessories. They are not a substitute for confirming that the handguard itself fits the upper.
For a buyer choosing a complete rifle or upper, the best handguard is the one that belongs to the documented configuration and supports the way the rifle will actually be used. For an owner considering a change, the first task is identifying the exact upper, barrel length, gas-system layout, front-sight arrangement, barrel nut, and maker guidance. A handguard is not a universal part, and appearance alone is not a reliable fit test.
What a handguard is meant to do
A useful handguard has three basic jobs: it helps shield the support hand from barrel heat, gives the shooter a secure forward grip, and creates mounting space for relevant equipment. Daniel Defense describes the same practical roles in its rail-selection guide. Those jobs explain why handguard choices should begin with the rifle’s role, not with a claim that one profile or attachment system wins every comparison.
A light or sling mount may matter to one owner. A supported precision setup may call for a stable place for a bipod. A service-rifle or match setup may have its own equipment rules. Another rifle may need nothing beyond a comfortable, secure support surface. The right handguard provides the space, balance, and interface the rifle actually needs without turning unused rail space or a parts label into a buying priority.
Free-float handguards: what the term means
A free-float handguard attaches to the receiver or barrel-nut area rather than bearing against the barrel. That separation can reduce the chance that pressure from a support hand, sling, bipod, barricade, or rest affects barrel movement. SIG Sauer’s free-floating barrel definition explains the practical point: support pressure is kept off the barrel itself.
That matters most as a consistency question. A free-float layout gives the barrel room to perform without the handguard becoming another contact point. It does not create a magic accuracy number, and it does not erase the importance of barrel quality, chamber, ammunition, optics, trigger control, assembly, or shooter fundamentals. A well-designed free-float upper is a complete system, not a rail advertised in isolation.
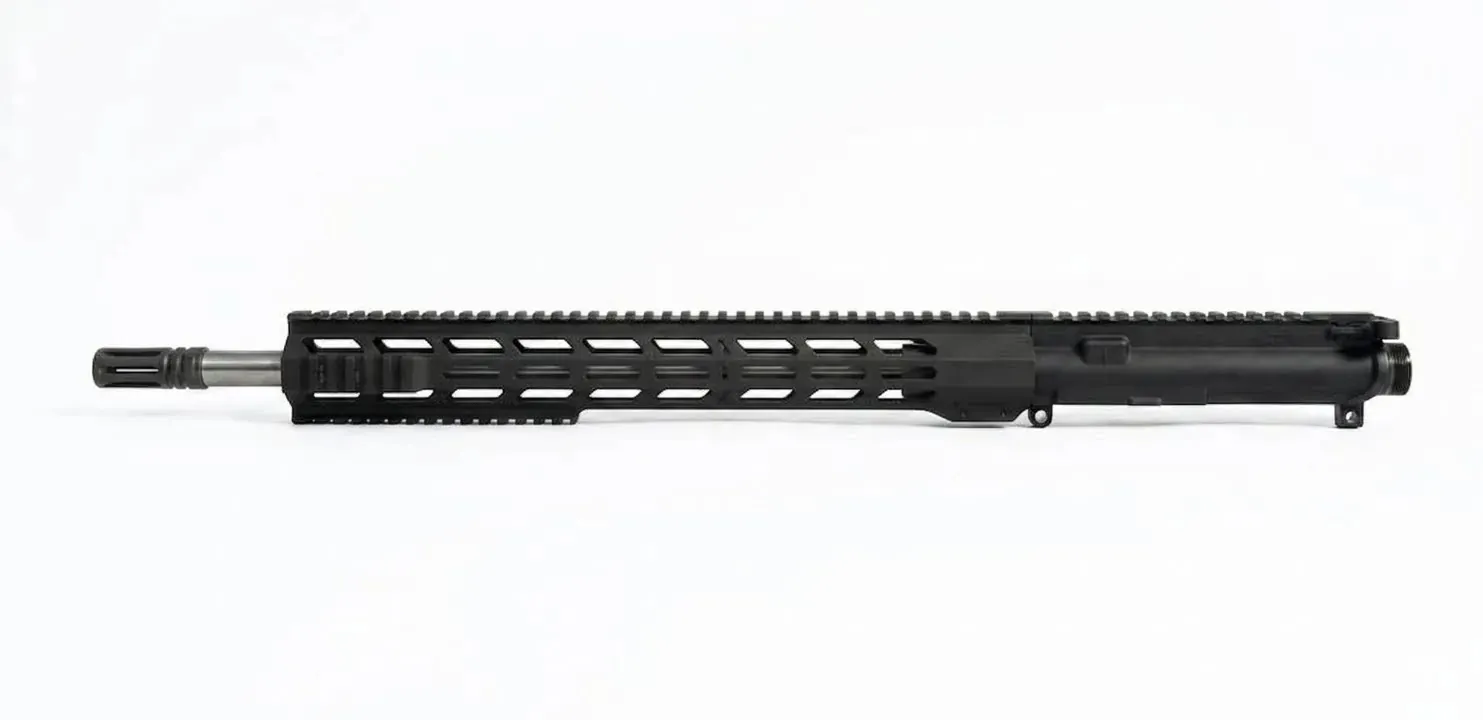
Free-float handguards commonly appear on modern complete uppers because they offer a long, continuous support surface and flexible accessory locations. Their fit is still specific. The internal diameter has to clear the barrel and gas-block arrangement. The length has to make sense with the barrel and muzzle device. The mounting system has to match the intended barrel nut and upper. Those are reasons to read the whole specification before comparing a single rail feature.
Drop-in handguards: where they make sense
Traditional drop-in handguards are often two-piece assemblies that work with an established upper layout. Daniel Defense notes that these designs are typically straightforward to remove and replace when the rifle is already configured for them. That can make them a practical choice for a documented traditional setup where the owner wants to retain the original architecture rather than redesign the front end of the upper.
A drop-in design is not automatically inferior. It is a different attachment method with different constraints. It may suit a classic front-sight arrangement, a specific service-rifle pattern, or an owner whose real goal is a simple, compatible replacement. The mistake is treating a free-float label as an upgrade mandate without considering whether the rifle needs a different barrel nut, different clearance, a change to the front-sight arrangement, or work that belongs with a professional.
For a complete-rifle buyer, a drop-in handguard should prompt the same sensible questions as any other product specification: What is the intended role? What else is included with the barrel and upper? Which accessories will be used? Is the finished package documented by the manufacturer? The answer should come from the entire rifle, not from a short list of internet preferences.
Free-float versus drop-in: the real tradeoffs
Free-float designs make the most sense when a shooter values a stable, repeatable support platform, expects to use a bipod or other forward equipment, or is choosing a complete upper built around that format. They can also offer more options for a long support hand position and modern accessory placement. Those benefits are meaningful only when the rest of the upper has been designed and assembled to support them.
Drop-in designs make the most sense when they are the proper match for the existing upper and the owner wants a direct, documented solution. They can retain a rifle’s original layout and avoid turning a modest comfort or accessory question into a larger upper-assembly project. A simple, correct fit is usually more valuable than a more elaborate part that requires assumptions about what is underneath the handguard.
Neither format replaces a thorough look at barrel length, gas-system layout, sighting plan, overall weight, and intended use. A compact range rifle, a field rifle, a competition rifle, and a supported precision setup may all benefit from different choices. The useful comparison is not which label sounds more advanced. It is which complete configuration helps the shooter use the rifle safely and consistently for its intended job.
M-LOK, Picatinny, and KeyMod are separate choices
Once the attachment style is clear, the next question is how accessories mount to the handguard. Picatinny rail uses a familiar, continuous ridged interface. It is widely compatible and can be useful where a particular accessory or sighting arrangement calls for it. A full quad rail uses Picatinny sections around the handguard, which can provide broad mounting space but may add weight and a more angular gripping surface.
M-LOK uses elongated slots, allowing compatible accessories or short rail sections to be placed where they are actually needed. SIG Sauer’s handguard overview explains why this can keep a setup slimmer and lighter while leaving unused surfaces clear. KeyMod remains relevant on existing equipment, but it requires accessories made for that interface. An accessory that fits one system should never be assumed to fit another.
A hybrid setup is common: a top Picatinny surface where a specific optic or sighting arrangement belongs, with M-LOK slots on the sides and bottom for a sling mount, hand stop, bipod, or other equipment. This is a useful example of why attachment interface and handguard attachment must be considered separately. A free-float M-LOK handguard and a drop-in M-LOK handguard can share accessory language while fitting very different uppers.
Length, clearance, and balance matter more than a product label
Handguard length should make sense with the barrel. A longer rail can provide more usable support surface and more room for appropriate equipment. A shorter rail can reduce weight and may better fit a compact configuration. Daniel Defense notes that maximum rail length is constrained by barrel length, while the final choice also depends on accessory needs, weight, and personal handling preference.
Clearance is equally important. The handguard has to work with the barrel profile, gas block, gas tube, muzzle device, and any fixed front-sight arrangement. SIG Sauer’s precision-handguard guidance specifically points to barrel nut, gas-system configuration, and internal clearance as fit questions. Those details are why a listing that only says “AR-15 handguard” does not contain enough information for a sound buying decision.
Balance is a whole-rifle characteristic. Extra length and accessories add weight forward of the receiver. A very light rail may feel easy to carry, while a sturdier setup may feel more settled from a supported position. Neither feeling is universally better. Before buying, consider the rifle’s intended distance, how long it will be carried, where the support hand naturally rests, and which equipment is genuinely necessary.
Choose for the rifle’s job, not the longest feature list
A buyer planning a supported range or match rifle may reasonably value a longer free-float support surface, predictable bipod placement, and enough room for the sighting and sling equipment that role requires. That does not mean every rifle benefits from being configured the same way. The shooter still needs a barrel, cartridge, optic, stock, trigger, and overall weight that agree with the intended distance and discipline.
A general-purpose rifle can call for a different balance. Long rails and a large collection of accessories can make a product listing look capable while adding weight, bulk, and decisions the owner will not use. A simpler handguard with the correct fit and only the needed mounting points can be the better result when the rifle’s job is straightforward. The goal is a coherent package that handles well, not an empty rail covered in options.
Competition adds another layer. A particular format may reward a stable forward hold, a carefully placed sling attachment, or a handguard that works with the shooter’s support technique. Rules, equipment requirements, and the precise event matter. DRD’s competition AR-15 overview is a better starting point for that choice than copying an accessory arrangement from a rifle built for another purpose.
For every role, avoid treating a handguard as a shortcut around the rest of the specification. A rail cannot tell a buyer whether a barrel is suited to the planned ammunition, whether an optic matches the expected distance, or whether an upper has the right chamber and gas-system arrangement. The value of the handguard is how it supports those larger decisions.
Compatibility is the buying checklist
Before choosing a handguard, work through a simple compatibility check:
- Identify the exact upper. Record the make, model, barrel length, chambering, and any maker documentation.
- Confirm the front-end layout. Note the gas-system format, gas-block or front-sight arrangement, and whether the existing design is traditional or free-float.
- Confirm the barrel-nut requirement. A handguard may require a particular nut or mounting system. Do not assume the existing hardware is compatible.
- Check internal clearance and length. The rail must clear the documented barrel and gas components while fitting the barrel and muzzle layout.
- Choose the accessory interface last. Match M-LOK, Picatinny, or another interface to equipment that has a real job on the rifle.
- Use the manufacturer’s instructions. If the upper is undocumented, previously modified, or needs deeper disassembly, consult a qualified gunsmith before ordering parts.
Midwest Industries makes this distinction plainly in its handguard FAQ: handguard work can involve the barrel nut, gas block, front sight, and specialized support equipment, and its guidance recommends professional installation for owners who are not familiar with upper assembly. That is the responsible path when an apparently simple purchase depends on unknown details inside the rifle.
Common comparison mistakes to avoid
The first mistake is comparing rail interfaces as if they decide attachment style. M-LOK does not mean a rail will fit a particular barrel nut. Picatinny does not mean a handguard is free-float. Start with the upper’s documented mounting arrangement, then choose an accessory interface that serves the finished rifle.
The second mistake is buying by outside length alone. A handguard can look right beside a barrel in a product photo and still be wrong for the gas block, fixed front sight, muzzle device, or internal clearance of a different upper. Product photographs are helpful for understanding a complete rifle, but they are not a substitute for the manufacturer’s specifications.
The third mistake is treating clearance as a minor detail. The gas block, gas tube, barrel profile, and handguard all occupy the same part of the upper. If the rifle has an unfamiliar front end or a prior modification, the safe answer is to identify it first. A qualified gunsmith can determine compatibility before money is spent on a part that may require a different mounting system or additional work.
Finally, avoid putting an accessory on the rifle simply because the rail has room. A light, sling mount, hand stop, or bipod should have a defined purpose and a compatible mounting method. Unnecessary equipment can make handling worse without improving the rifle’s real capability. Build the decision around use, then choose only the hardware that supports that use.
Read a complete upper specification as one system
A strong product listing gives a buyer enough context to compare the front end of the rifle without guessing. Look for the barrel’s chambering, length, profile, twist rate, gas-system format, handguard description, and any stated gas-block details. Then read the stock, trigger, optic or sighting arrangement, and overall purpose. Each item answers part of the decision. No single line item can stand in for the whole configuration.
This approach is especially helpful when two complete uppers use similar-looking handguards. One may be built around a lighter, compact field role, while the other is intended for supported precision or a competition discipline. The rail can be appropriate in both cases, yet the reason it was chosen may be different. Comparing the complete specification keeps the buyer focused on the result instead of assuming that an identical interface means two rifles will handle, balance, or serve the same purpose.
It also makes product conversations clearer. Rather than asking whether a particular rail is simply “better,” a buyer can ask whether the listed upper suits the intended distance, support method, accessories, and handling preference. That is a question a builder or gunsmith can answer from real specifications. It leads to a better decision than trying to reverse-engineer compatibility from a photograph or a popular product label.
When a qualified gunsmith is the right next step
Professional help is especially worthwhile when a rifle has an unknown parts history, a fixed front-sight arrangement, a function concern, or a desired change that goes beyond a documented accessory attachment. A gunsmith can identify the actual upper configuration, verify fit, preserve the intended gas-system clearance, and avoid damage caused by forcing a part that was never meant to fit.
That is not a reason to avoid learning the vocabulary. It is a reason to use that vocabulary accurately. Knowing the difference between free-float and drop-in, and between M-LOK and Picatinny, helps a buyer ask better questions. It does not turn an undocumented upper into a do-it-yourself diagnosis. Before handling or transporting any firearm for service, make sure it is unloaded and follow the manufacturer’s safety guidance.
How DRD keeps the comparison practical
DRD’s complete rifle and upper listings show the key configuration details together: barrel, chamber, gas-system format, handguard, and intended role. That is more useful than evaluating a rail as a stand-alone promise. A buyer can compare a documented package built to work together, then choose the rifle or upper that suits the shooting they actually plan to do.
Readers comparing a finished upper can start with DRD’s 6.5 Grendel Upper and its listed barrel, gas-block, and free-float handguard details. Those looking for a match-oriented complete rifle can review the DRD AR-Tactical Rifle. For an existing AR-platform rifle that needs inspection or a carefully considered change, DRD’s AR-15 gunsmithing service is the safer first conversation.
Bottom line
Free-float and drop-in handguards solve different attachment questions. M-LOK, Picatinny, and KeyMod solve different accessory questions. The right choice begins with the exact rifle and its intended use, then works through fit, clearance, balance, and the equipment that truly belongs on the finished configuration.
Use the full product specification to compare complete rifles and uppers. If a current rifle needs a handguard change and any part of the front-end configuration is unclear, make sure the firearm is unloaded and let the manufacturer or a qualified gunsmith confirm the safe, compatible path.
Frequently asked questions
What is the difference between a free-float and drop-in AR-15 handguard?
A free-float handguard attaches at the receiver or barrel-nut area and does not contact the barrel along its length. A traditional drop-in handguard fits the layout of a rifle that uses a delta ring and front sight base or retainer. The correct choice depends on the documented upper and the use of the complete rifle.
Does a free-float handguard make every AR-15 more accurate?
A free-float layout can reduce outside pressure on the barrel, which helps make the support setup more consistent. It is not a stand-alone accuracy guarantee. Barrel quality, ammunition, sights or optic, assembly, support, and shooter fundamentals remain part of the result.
Are M-LOK and Picatinny the same as free-float and drop-in?
No. Free-float and drop-in describe how the handguard is attached. M-LOK and Picatinny describe accessory-mounting interfaces. A handguard can be free-float with M-LOK slots, a quad rail with Picatinny sections, or another compatible arrangement.
How do I know which handguard fits my rifle?
Start with the exact upper, barrel length, gas-system arrangement, front-sight setup, barrel nut, and the manufacturer’s published specification. Handguards are not universal. If any of those details are unknown, a qualified gunsmith can confirm the actual configuration before a part is ordered.
Should I change a handguard myself?
Changing a handguard can affect the barrel nut, gas system, accessory alignment, and manufacturer warranty. Make sure the firearm is unloaded and consult the manufacturer or a qualified gunsmith when the work requires disassembly beyond a documented, simple accessory change.
Related posts
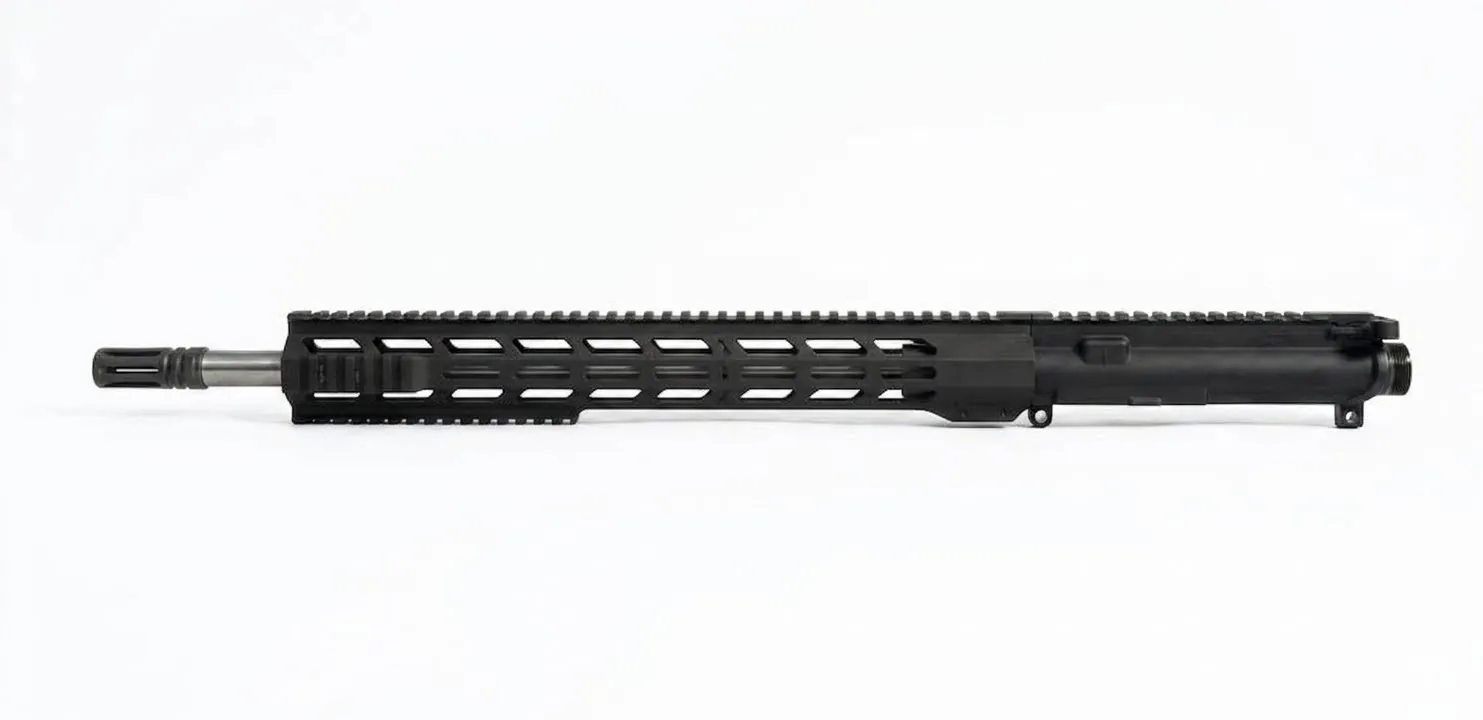
Best AR-15 Upper: How to Choose a Complete Upper
A practical guide to choosing a complete AR-15 upper around cartridge, barrel, gas system, handguard, and the rifle you plan to finish.
Read the guide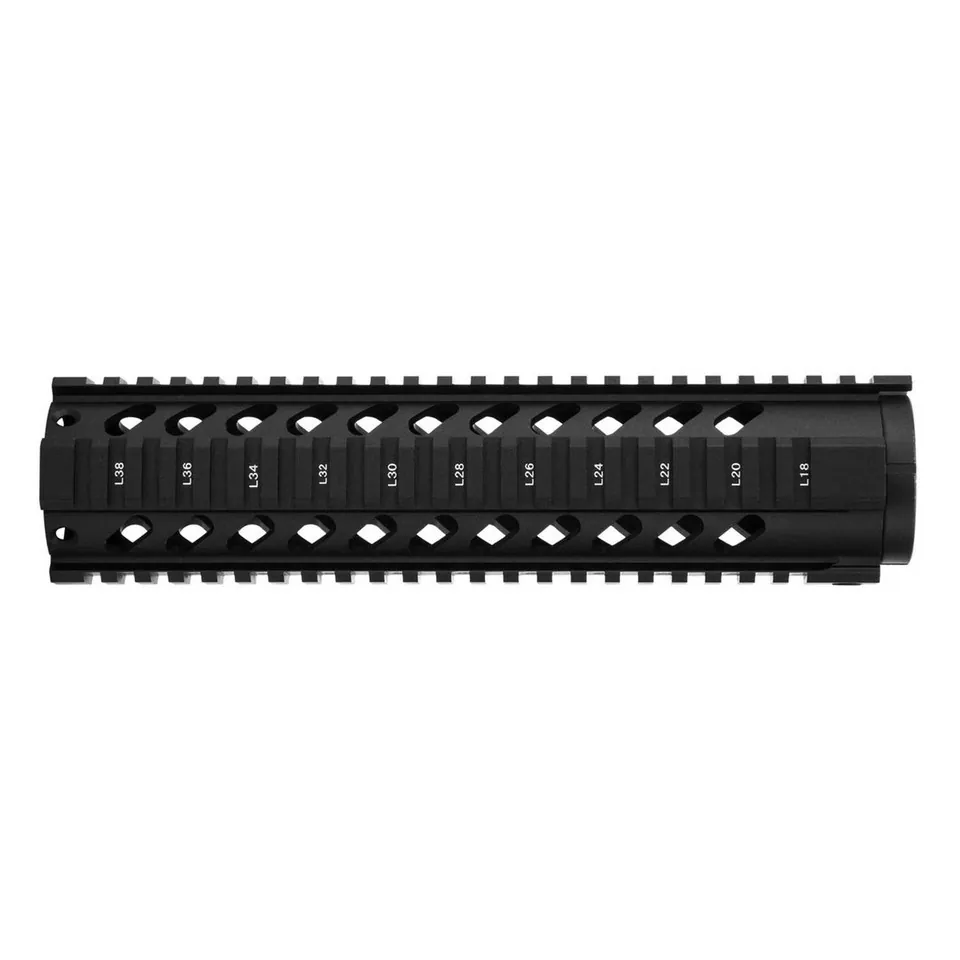
What Is a Free-Float Handguard? A Practical Guide
Understand what a free-float handguard does, how it differs from a drop-in design, and what to compare before choosing an AR-15 upper.
Read the guide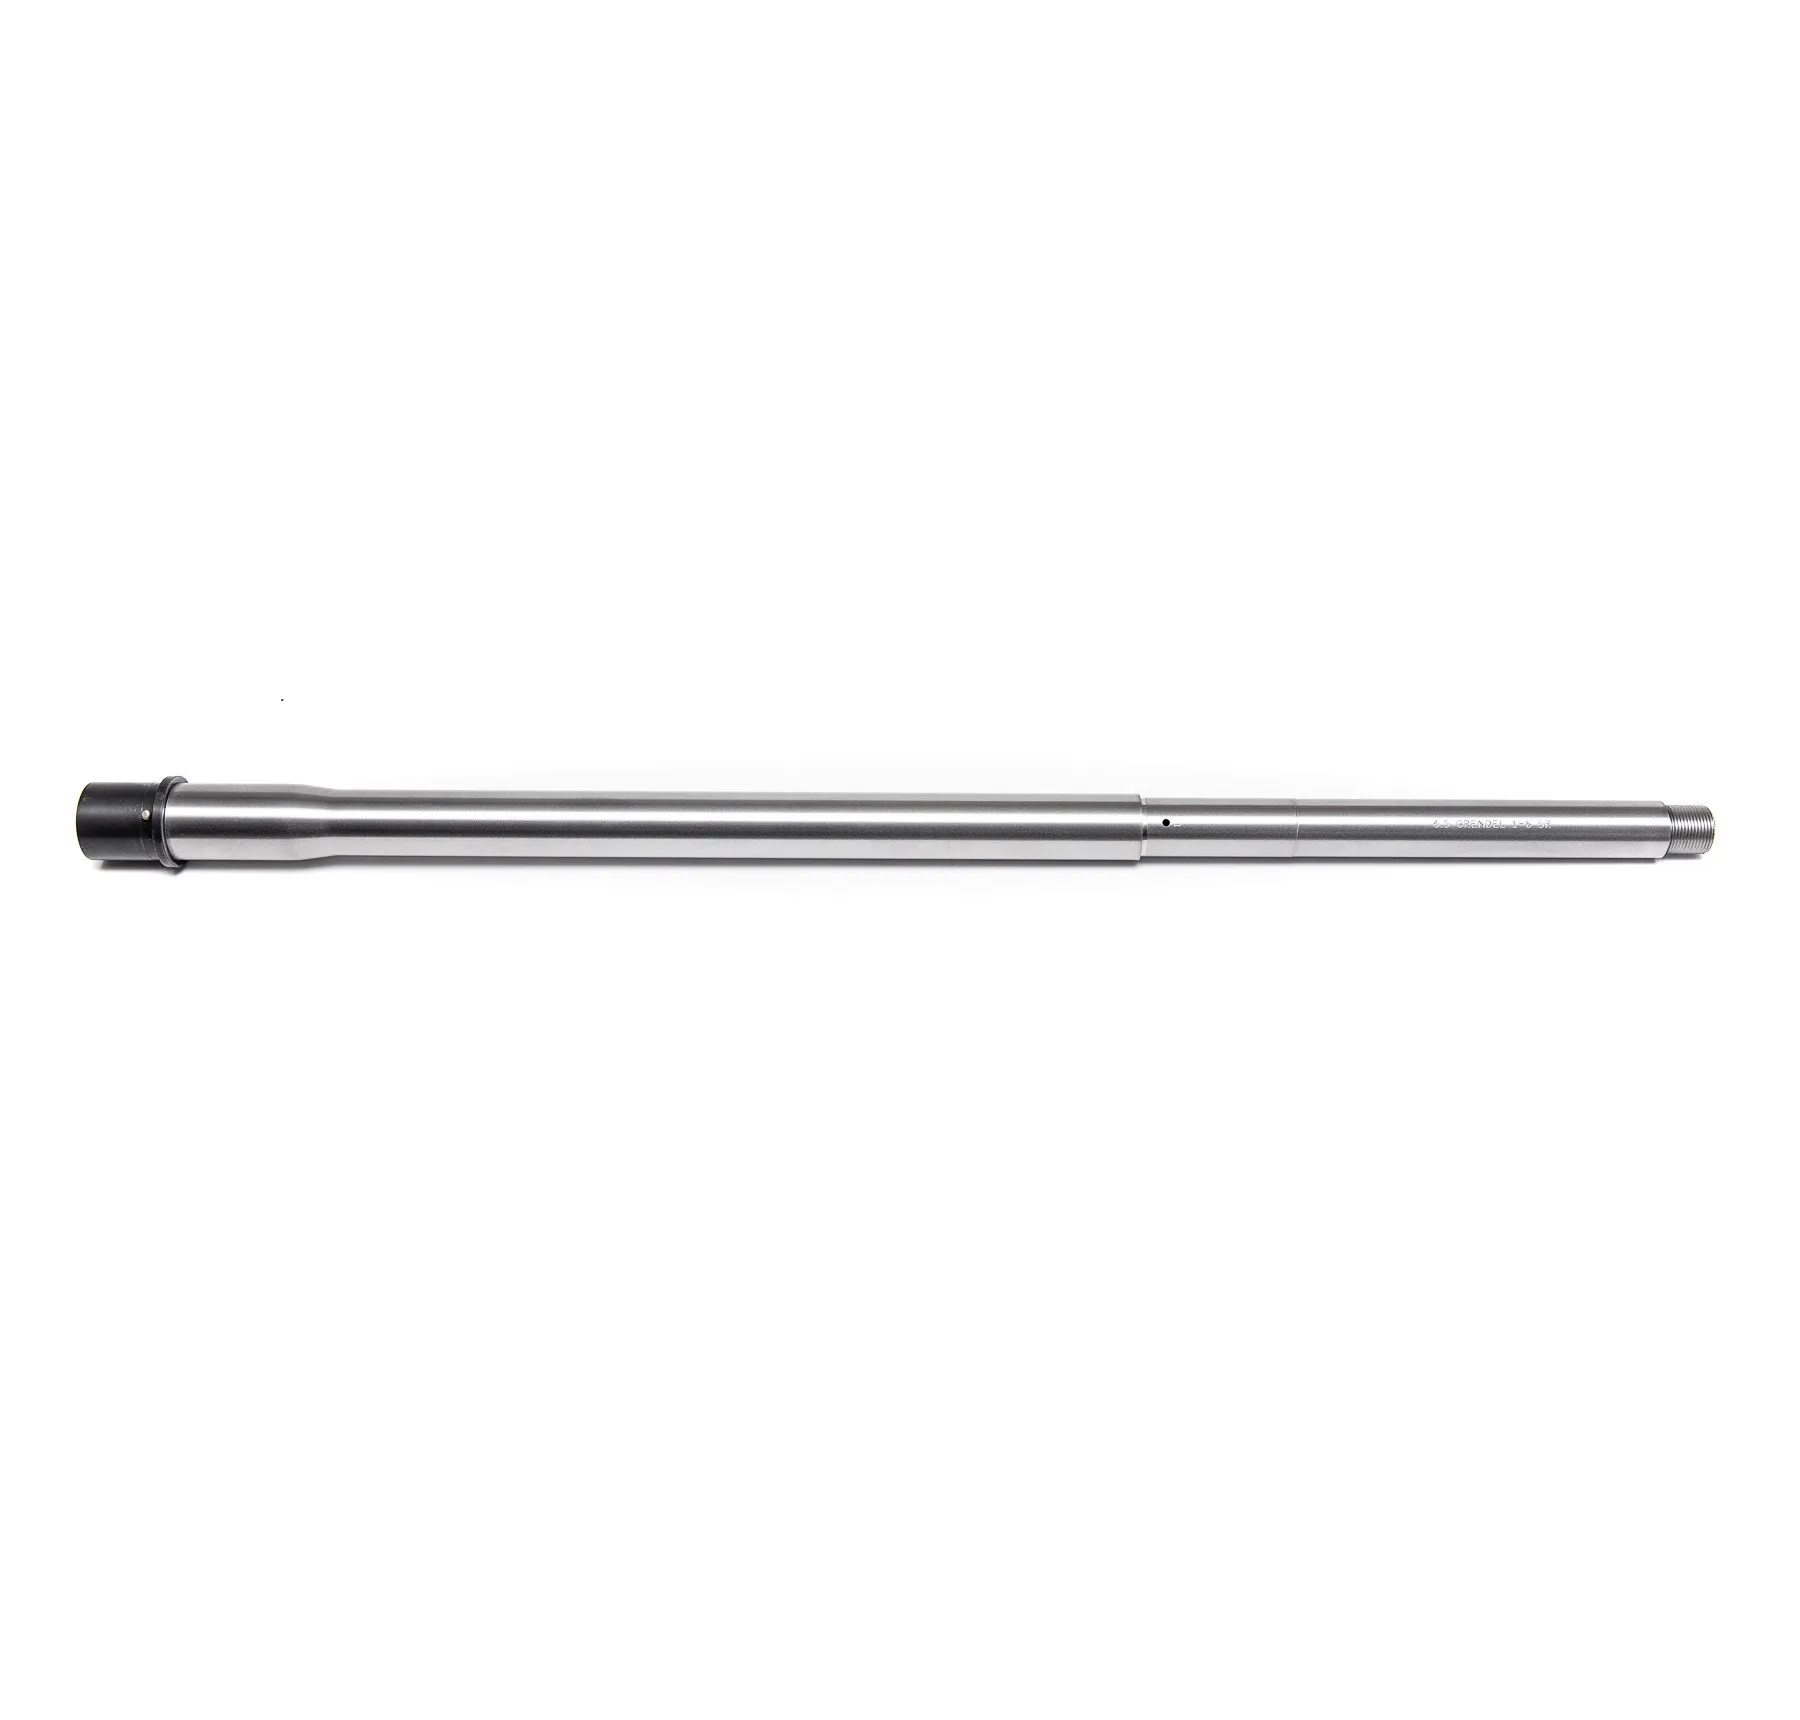
AR-15 Gas Block: What It Does and What to Compare
Understand what an AR-15 gas block does, why fit matters, and which complete-rifle details to compare before choosing an upper or service.
Read the guide